Building the environment
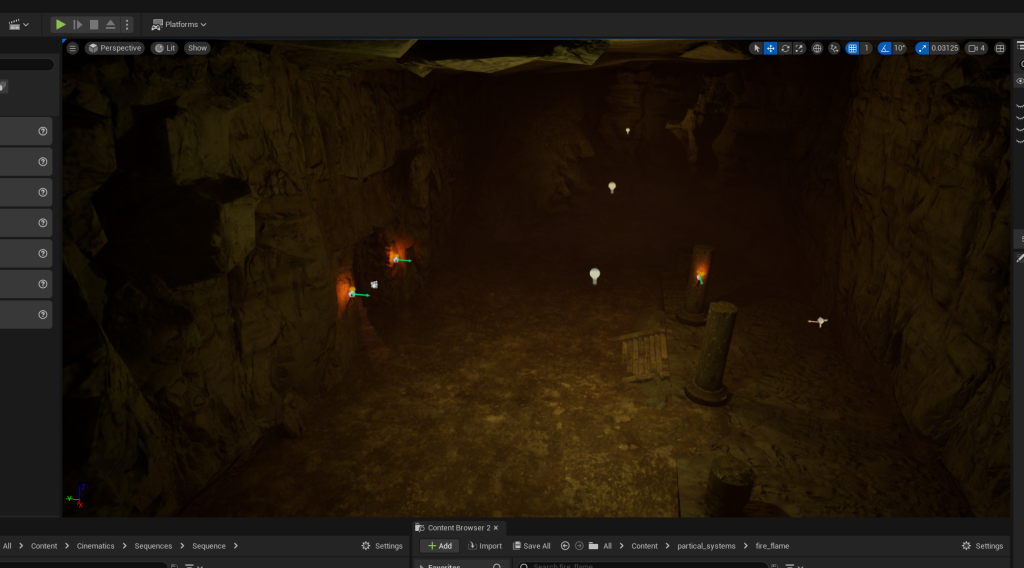
The first thing I did in this animation was build the environment because it allowed me to get a sense of where the characters would be in relation to each other. I started with a simple blockout using the blocks provided by unreal engine and then went to quixel bridge where I found cliff and cave assets that I could then import into unreal engine and use for my animation. I wanted to set my animation in a dark cave. I researched images of dark caves to get a sense of what I wanted to do for the environment. My initial idea I wanted the cave to be dark and only lit by a single light source but i decided against this as the environment would be to dark and impossible to see.
I then added lights to the environment to allow the scene to be lit correctly from various angles, allowing soft light to be cast onto the environment and the characters to add more realism to the scene. Building the environment in a cave allows me to focus on the important things, such as the particle systems and character animations, without having to worry about exterior environments like the sky.
Characters
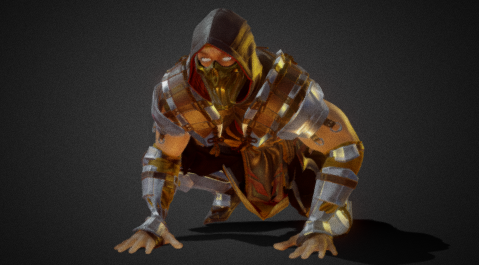
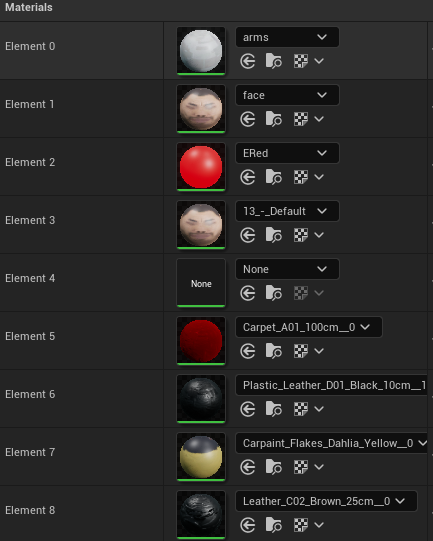
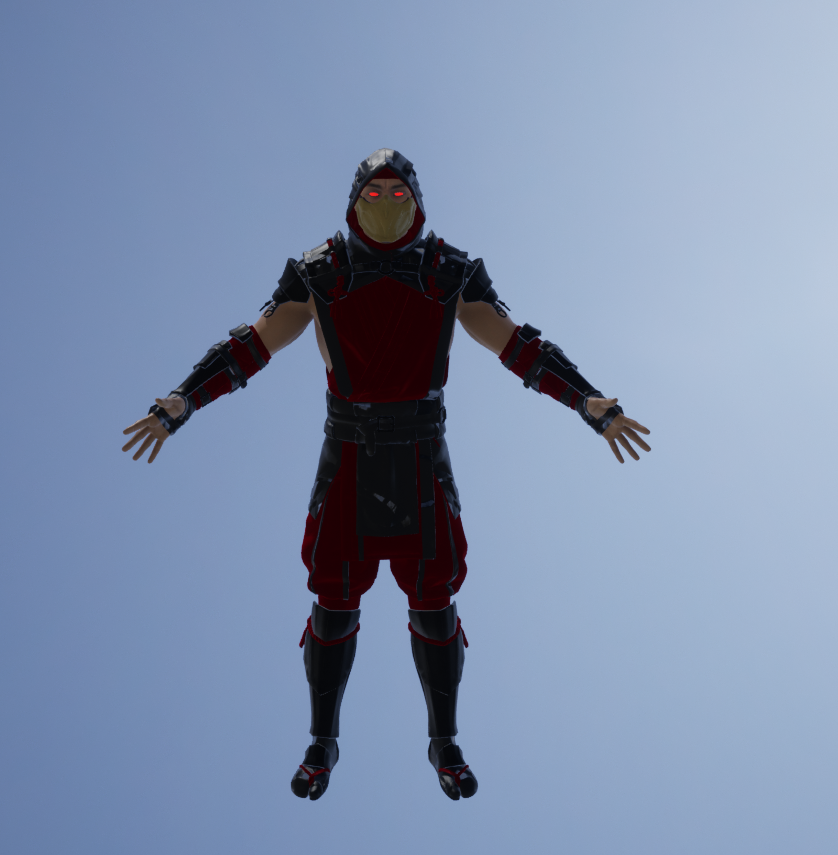
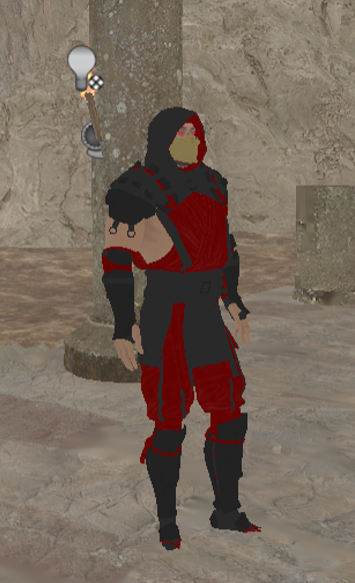
To stay true to my original plan of creating a fighting scene similar to Mortal Kombat, I downloaded a scorpian model from Sketchfab to use in my animation. I then imported the model into Mixamo to rig the character, allowing me to use the various Mixamo animations to animate it in the final scene. I then imported the rigged character into Unreal and created new textures for the character as well as changing the colour of the clothing and eyes.
I duplicated the finished character and changed the colour of the second one to green as that is what i wanted my other character to look like.
Animations
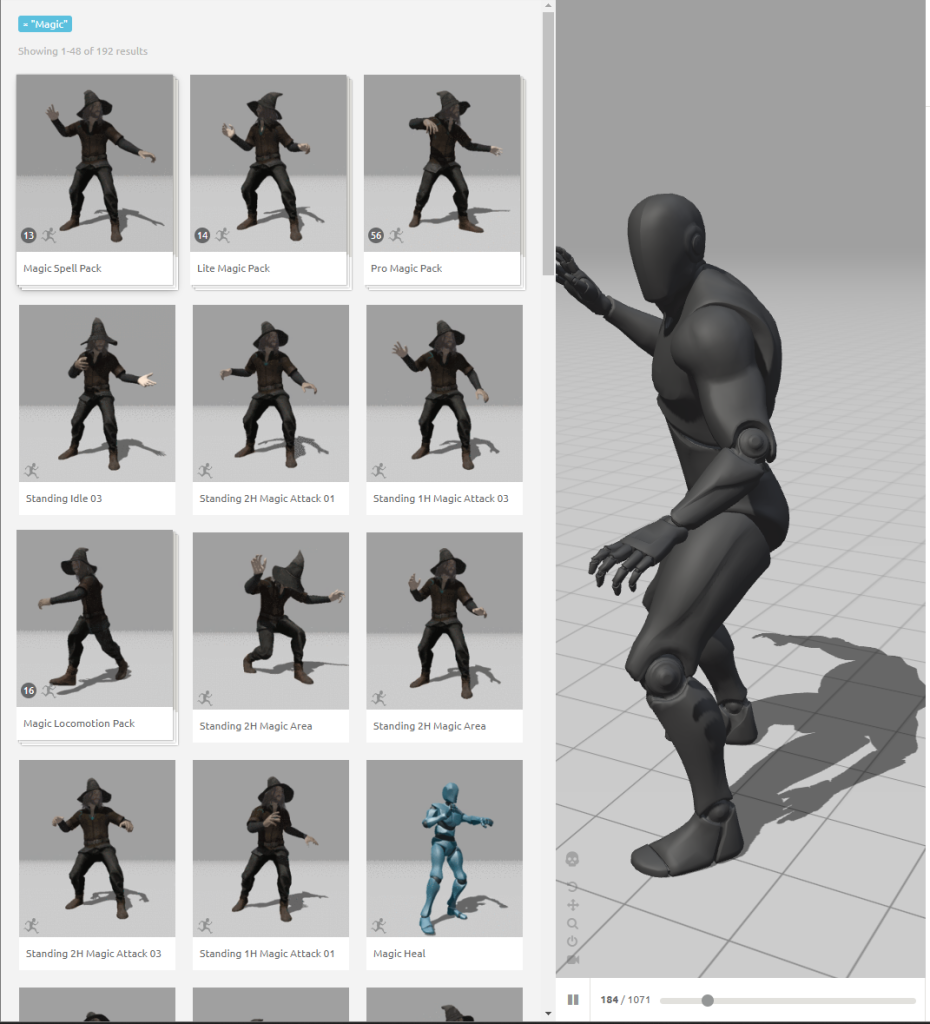
I was able to easily animate the character in Unreal because my character was rigged using Mixamo, and both characters shared the same skeleton, so the animations that I would import would easily be applied to the characters. I knew I wanted simple animations, which I knew Mixamo could produce. I began by looking for animations that I could use and began with some idle animations to ensure that my characters were posed correctly.
idle:
https://www.mixamo.com/#/?page=1&query=idle
walking:
https://www.mixamo.com/#/?page=1&query=walking
casting spells:
https://www.mixamo.com/#/?page=1&query=magic
These are the basic animations I have right now. I hope to include more animations such as floating animation, jumping out of the way animation, and turning animation.
Making particle system
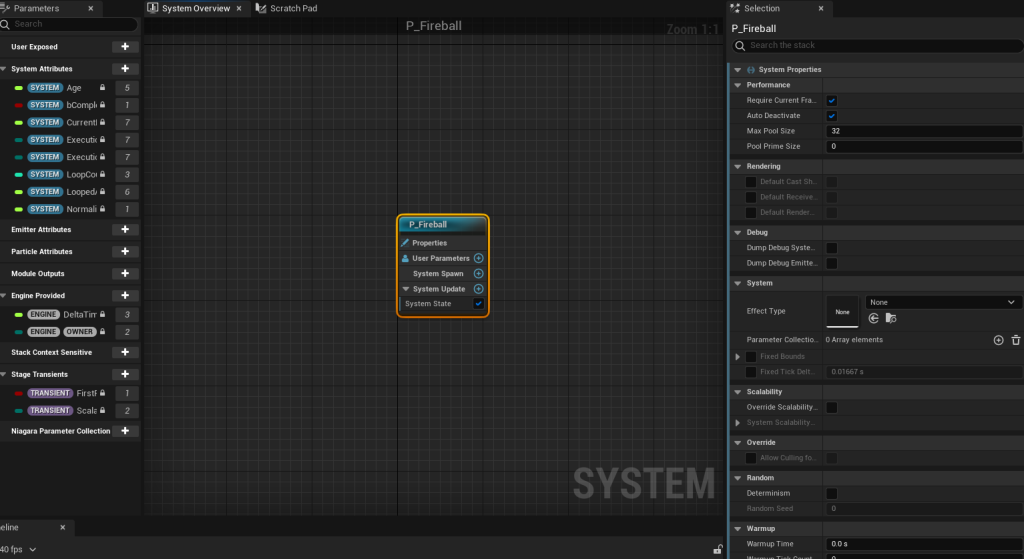
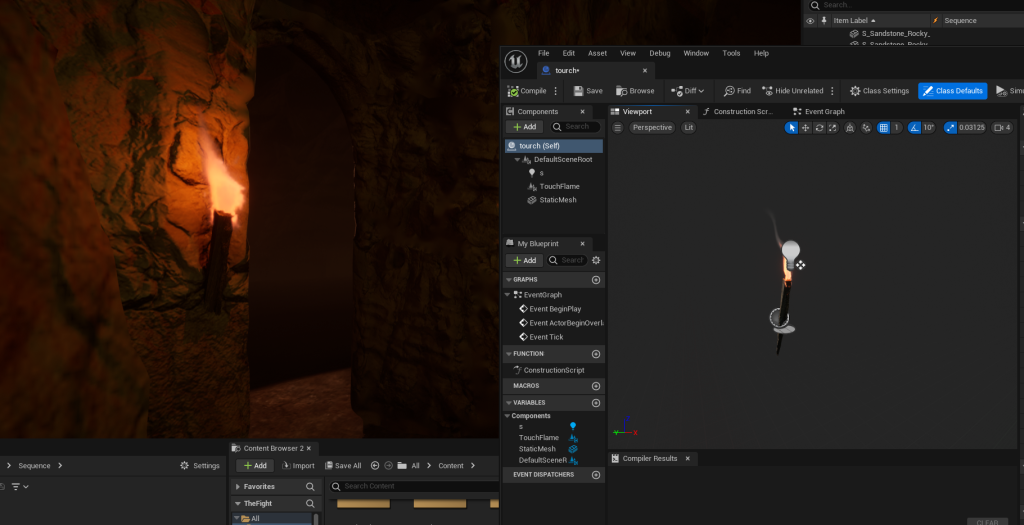
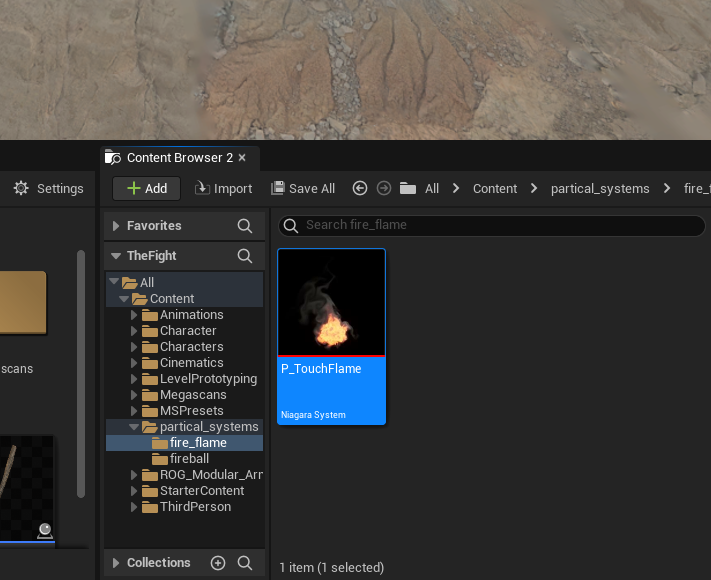
Making particle systems in Unreal is a simple process because the majority of the work is done for you. Although Unreal provides some pre-made particle systems, creating your own is not difficult. to make the torches that will light the environment. I began by creating a flame particle system that I could use to simulate a burning torch. I then created an actor blueprint using a stick model from Quixel Bridge so that I could combine these various elements. I added a point light after combining the model and the particle system to give the torch a slight orange glow that could cast light on the environment and the characters. I could then add this to any location as a collective once it was created.
Setting up shots
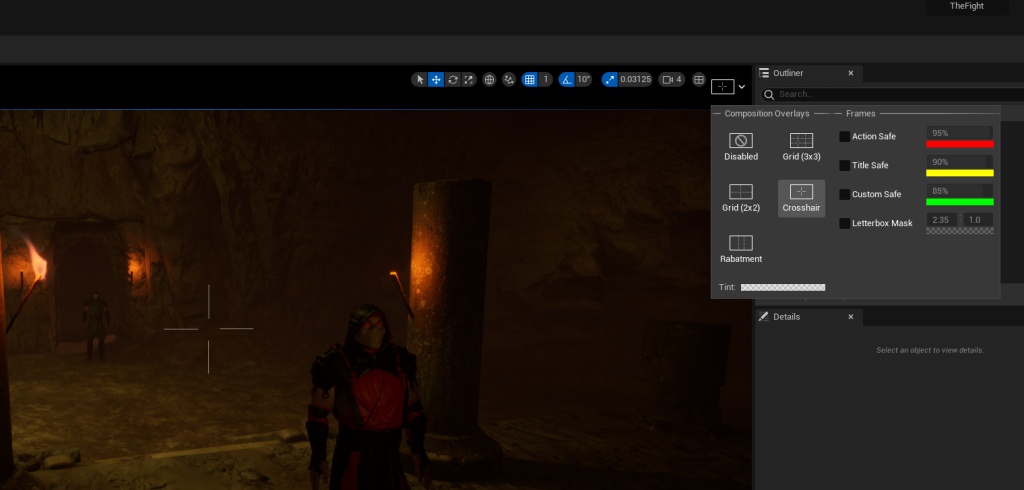
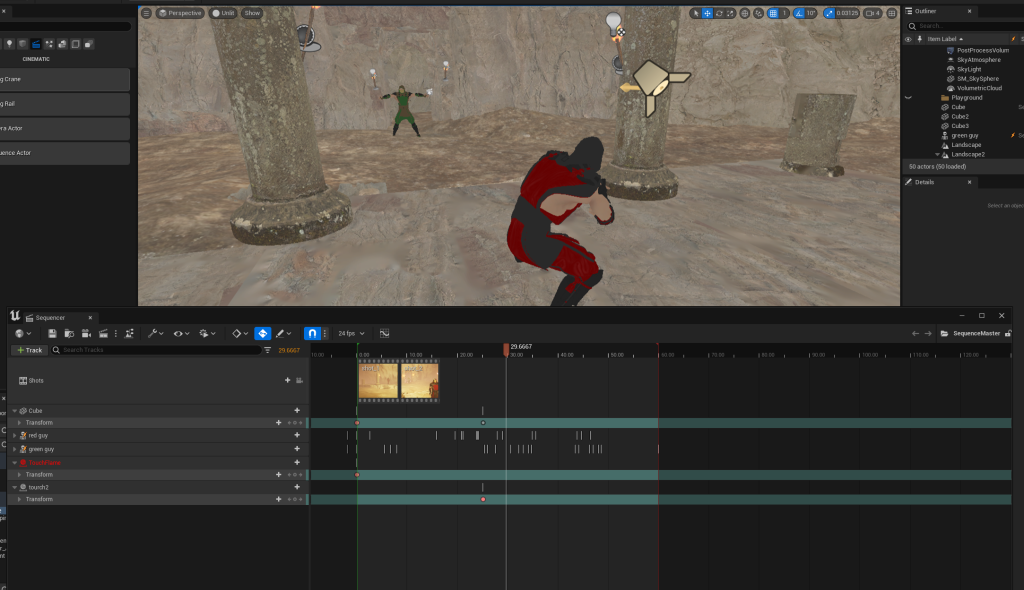
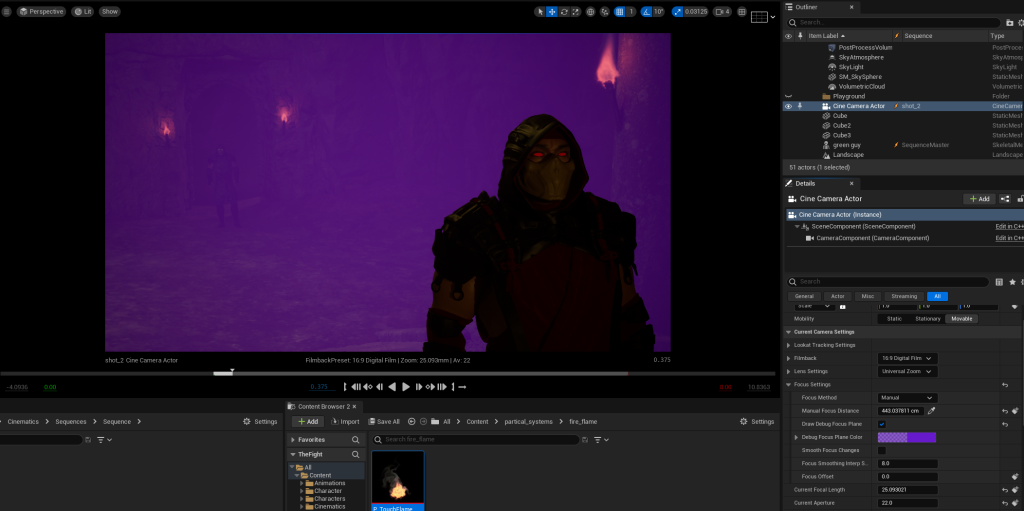
I made a master sequencer to combine all of my animations into one long shot to create the shots for my animation. After that, I created the various shots and placed them where I wanted them. I could use the cinematic camera to add an overlay that would allow me to keep my subject in the center of the shot.
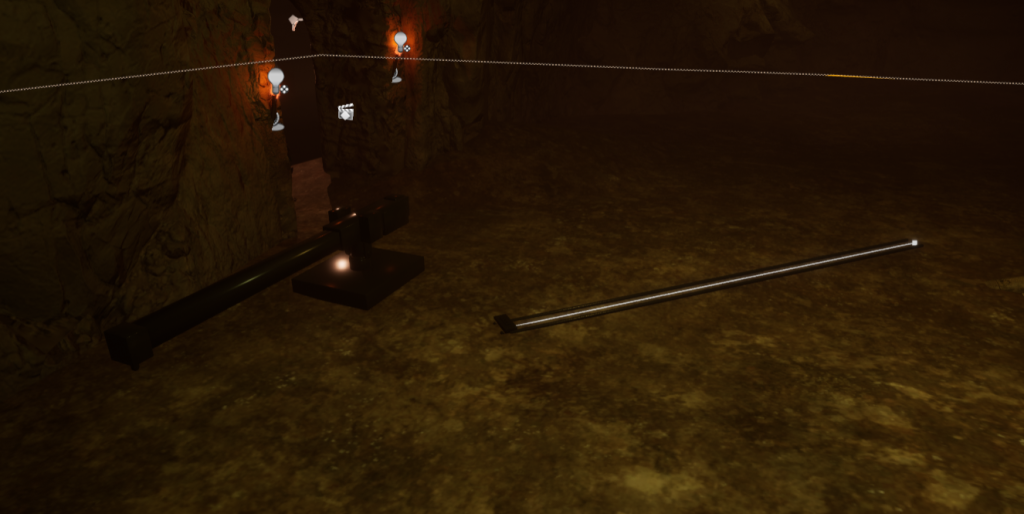
To make smooth camera movements, I used various rigs from Unreal. These were easy to set up because you just added them to the scene, parented the camera to the rig, and moved the rig itself. I didn’t use the crane rig as much because I didn’t have a lot of shots that required the camera to be high up, but I did use the rail rig a lot because I had a lot of shots that pushed towards the characters.
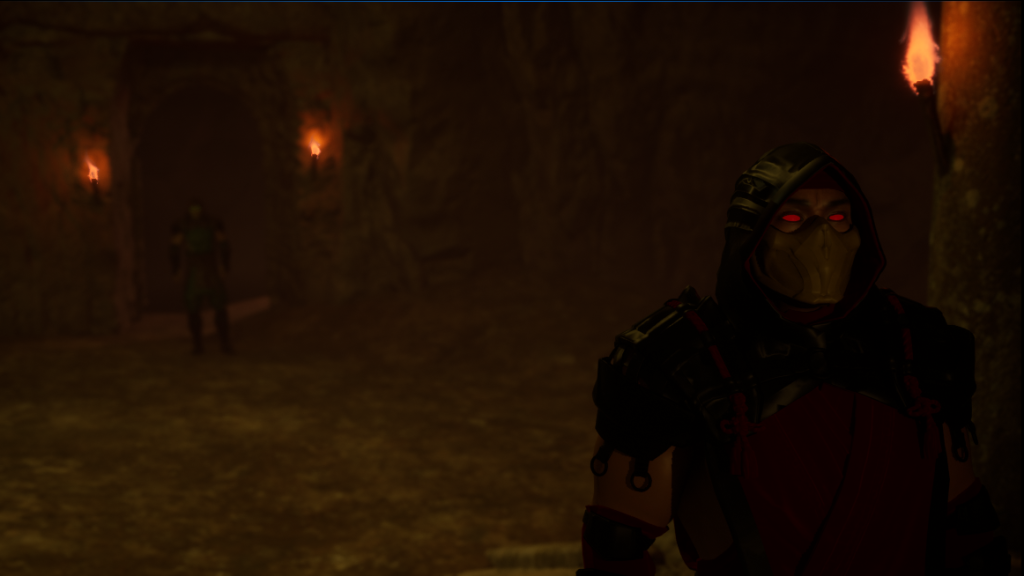
Increasing the focus distance in the shot allows me to direct the viewer’s attention to a specific area that is in focus. For example, in the shot below, I made the character on the right in focus so that the viewer’s attention is drawn to that character rather than the character in the background. I did this to not only make the production of my video look better, but also to keep the viewer’s attention on specific areas, allowing for a smoother transition between shots.
sound
I’ll be using royalty-free sites for the majority of my sound effects, but I’ll be recording some of my own sounds, such as talking and potential wind sound effects, to add more depth to the scene.
References
sorpian modle (2022) Sketchfab. avaliable online https://sketchfab.com/3d-models/scorpion-mk-18106ba276734330a330f462447b8d3f [accessed 14/11/2022]
Animation packages (2022) mixamo. available online https://www.mixamo.com/#/ [accessed 12/11/2022]
cave stone models (2022) Quixel bridge. available online https://quixel.com/megascans/collections?category=environment&category=natural&category=xeric-shrublands [accessed 26/10/2022]

